Thursday 29 September 2011

Graphic Communication Course Outline

Alright, here is the course outline for this course...

Week 1
Introduction to the course and graphic equipments

Week 2
Pencil & Pen Medium

  • Lines - Freehand and drafting
  • Lettering
Week 3
Pencil & Pen Medium
  • Tones and Values
  • Rendering Techniques
  • Shades and Shadows
Week 4
Still Life Drawing

Week 5 & 6
Introduction to Theory of Colour, Colour Medium and Renderings in such medium as:
  • Colour Pencil
  • Water base Colour
  • Marker
Week 7
Introduction to Figure Drawing and Entourage

Introduction to Proportions and Scale

Week 8, 9 & 10
Introduction to Different Types of Drawing
  • Symbols, Conventions, Dimensions, and Formatting
Presentation Drawings and their Interrelationship:
  • Introduction to Orthographic Drawings
Week 11 & 12
Presentation Drawing and their Interrelationship:
  • Introduction to Paraline Drawings
    • Axonometric Projections
    • Oblique Projections
Week 13 & 14 
Presentation Drawingand their Interrelationship
  • Introduction to Perspective Drawings
    • One-Point Perspective
    • Two-Point Perspective

GC: Exercise #2 and #3

We started the class with submitting the first assignment, but the thing is I misunderstood the instructions on when to submit it as I thought it was to be submitted on next Tuesday's class.

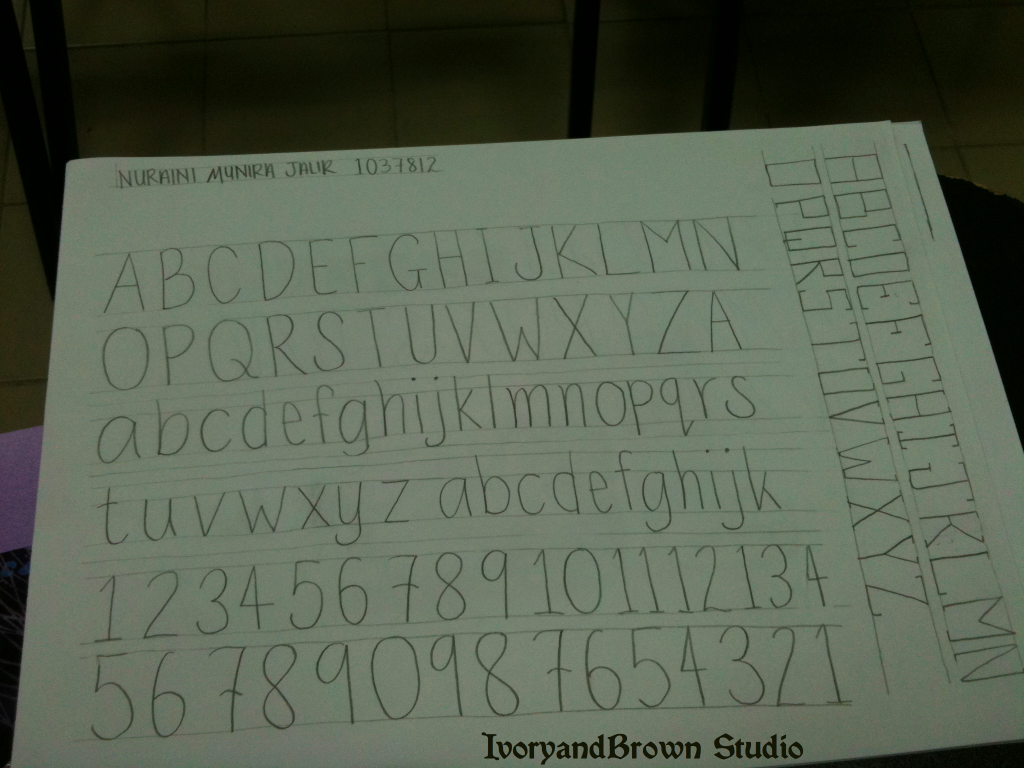
Anyway, in continuation to the first topic, we had another exercise on Lettering. This one is easy as all you need to do is just write alphabets. But the style of each alphabet should be the same i.e. same typeface.

Exercise #2
With that, we're done with the second week's topic on Pencil & Pen Medium: Lines & Lettering.


Next, we went to the third week's topic as we want to learn the tones and values together with the shades and shadows.

Thus, the instructor took a white paper and crumpled it up. He placed in on the table and we could see different tones and values of darks shades and its shadows.

Our second exercise for today is to draw it. I was hesitating at first as I really don't know how to begin but then I just started sketching.

So, here goes nothing.

Exercise #3
It's obvious that I was too ambitious with the number of tones but yeah...

So, that was all of it and before we ended the class, the instructor gave us our second assignment which is to draw an object in 3 papers, the first one just to draw its line, the second one is just to draw its tones and values and the third one is to combine its lines and tones together with its shades and everything.

So... I have 4 assignments to be submitted next week. Goodbye, weekend.


Signing out!

E

Wednesday 28 September 2011

Introduction to Built Environment

So, finally after 2 weeks, we had our IBE, short for Introduction to Built Environment class...

Thus, here is the course outline...

Kulliyyah: CELPAD
Department: Architecture and Environmental Design
Course Title: Introduction to Built Environment
Course Code: BAE 1310
Credit Hours: 3
Contact Hours: 3

Course Assessment:
  • Report (5%)
  • Mid Term Test (20%)
  • Forum (10%)
  • Case Study (15%)
  • Final Examination (50%)`

Week 1-2

Subject briefing
Introduction to subject AED 1233
Introduction to:
  • Natural and Built Environment
  • Environmental Design Components
  • Design Process
Week 3

A Brief History:
  • Early Human Settlements
  • Nature of Cities, Landscape and Buildings
Urban Design Principles and Elements

Week 4

A Preface towards Urban Regional Planning
  • Planning Scope and Process
  • Types of Planning
  • Planning in Malaysia
Week 5 Introduction to Architecture of the Muslim World
  • Introduction to the history of the Islamic World
  • The Main Urban Components of traditional Islamic City
    • Suq
    • Mosque
    • Other public facilities (baths, caravanserai, madrasah, hospital)
Traditional Malay House
  • The Characteristics and Elements
  • Structure and Materials
  • Design for Climatic School
Week 6
  • Landscape and Civilisation
  • The Characteristics and Elements
Week 7

MID-TERM Examination

Week 8

Appreciating Art and Its Meaning
  • Definition and Terms
  • Philosophy and Themes
  • The Characteristics and Elements
Introduction to Islamic Arts

Week 9

Applied Arts and Design: Its Application

The Importance and Functions of Product Design

Week 10 

Sustainability in Built Environment
  • Global Environment Issues
  • Introduction to Barrier Free Design
  • Islamic Principles and Values in Built Environment
Week 11 & 12

Forum (Presentation)

Week 13

Introduction to Profession in the Built Environment:
  • Planner
  • Architect
  • Landscape Architect

Week 14 Introduction to Professions i the Built Environment:
  • Quantity Surveyor
  • Industrial Designer
  • Interior Designer
  • Conservator

Tuesday 27 September 2011

GC: Exercise #1

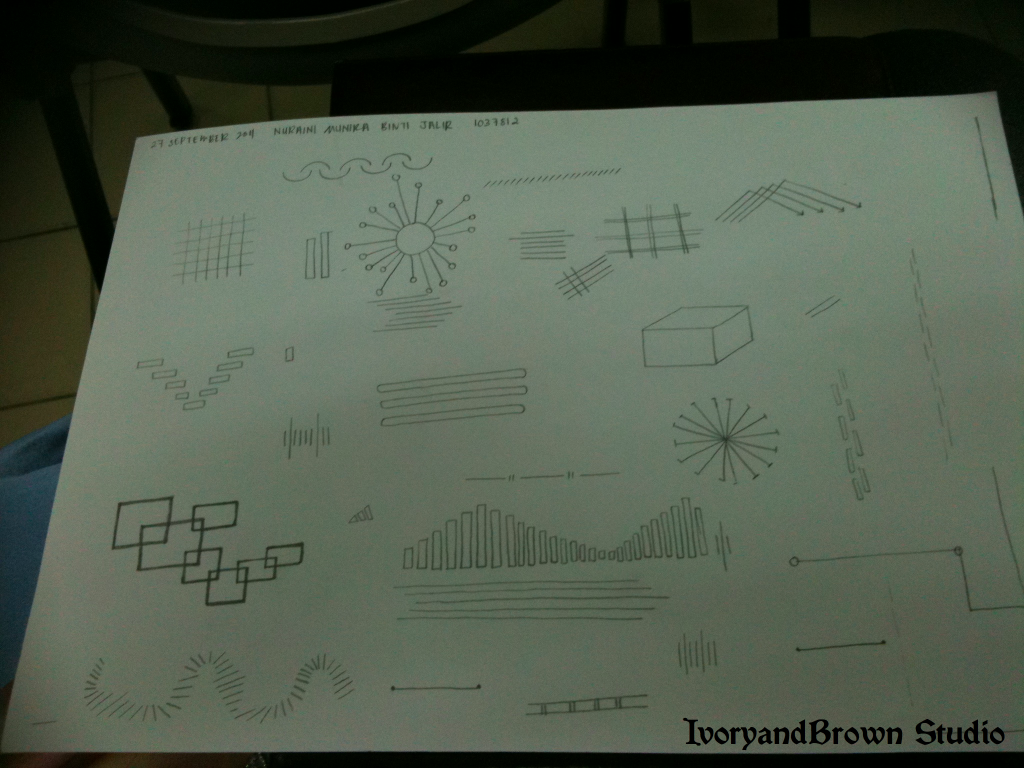
This is the very first of our exercise in the class... Lines and composition of it...


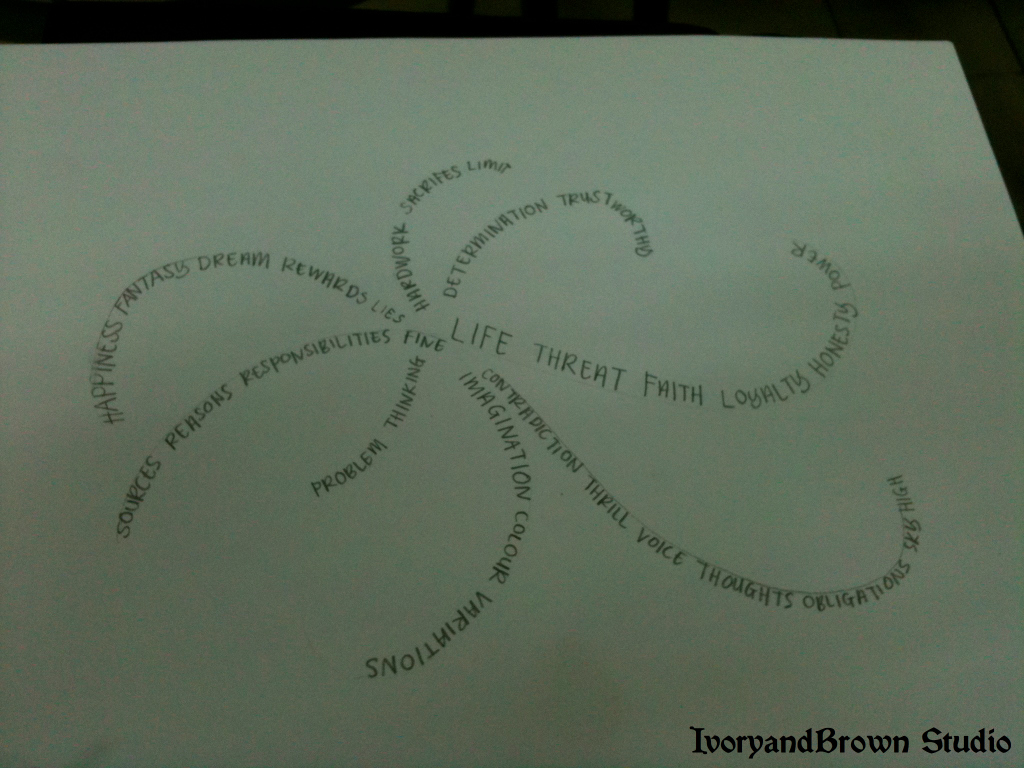
If you guys notice, there's asterisk in there... So I kinda think of something during that moment... An outburst...

Therefore I came out with this, and drew it at the back of my sketching paper...


What do you guys think?

I know I'm a bad drawer... T_T Feel free to drop comments, k?

Before the class ended, the instructor gave us our very first assignment on Lines and Lettering. Haven't started yet but will be, soon.

Regards,

E

Graphic Communication

I've been studying Science for the past 7 years of my life so this is my first Art class after that many years....

The class is basically focusing on drawing and I hope I can beat the subject and score... Trying to get the bigger view on how do we communicate through drawings.

The lecturer asked us to produce 10 sketches per week in a bound sketchbook that is containing acid-free paper to preserve the drawings better. All assignments should be submitted in A3 sized paper and we are required to produce our own port folio that is to be submitted at the end of the semester for overall evaluation.

For the first class, we were doing some very basic of drawings i.e. lines and after awhile, we kind of going freestyle.

I got to see some amazing drawings among my classmates too!

Overall, the class was fun and it was the first time I attended a class that is also want me to get closer to my own flow of emotions and try to relate it with my drawings. That was totally refreshing...

Friday 23 September 2011

Back to Basic

Well, what else can I say after I changed back the layout of this blog to original intended design!

I've always love ivory (lemon chiffon-like) and dark brown...

I designed the background pattern myself... =) Simple but this is one of my favourite pattern which is Checkered...

Anyway, it's been 2 weeks since the semester had started but I haven't start any of my architecture subjects...

~Ugh... Can't wait to start!

Thursday 15 September 2011

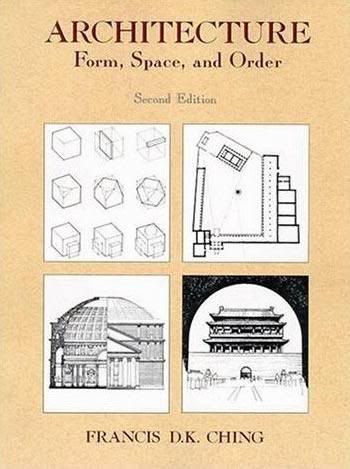
Architecture: Form, Space and Order


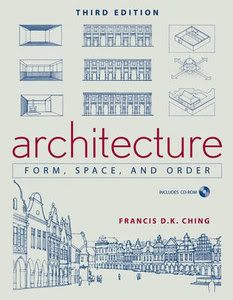
Title: Architecture: Form, Space, and Order.
Author: Francis D.K. Ching
ISBN: 978-0-471-75216-5 
Paperback 
No. of pages: 448  
Published: 

  • 1975 (1st Ed.)  

  • 1996 (2nd Ed.) 

  • 2007 (3rd Ed.) 

Publisher: John Wiley & Sons, Inc. (3rd Ed.)

After asking few lecturers and seniors, they said that this is one of the must-read book if you're going for Architecture Department for Foundation and Degree level. This book is basically about exploring all the basics one architecture students should have i.e. the primary elements, like lines; then the form, basic forms, its transformations; Form and Space, talking about elevations, planes and openings, then the Organization of Form and Space, well I haven't yet read this part so... 

The book so far is well, awesome! With thousands of freehand drawings inside, and oh! I forgot to mention that the third edition comes with the new edition of CD-ROM that brings the book's architectural concepts to life through 3D models and animations created by Professor Ching himself. 

I think that's the not-so-much-of-a book review by me as I'm still picking up the architectural jargons from here and there (this book and that book..)... 

Anyway, you guys can check out this book at MPH and the price is around RM180, or you guys can buy it from me which cheaper price i.e. students price. 

How are You Branding Yourself

It's nice to have heads up like this...

****

As a young designer it's incredibly important to begin to establish some sort of identity. Why? Because when going after internships and entry-level jobs this identity is what will set you apart from the competition. When I was in college I remember at the end of a project during pin-ups I could always tell which project belonged to whom without even looking at the name. This is because as you go through school and various design studios you begin to develop your own style and your own point-of-view and you get to know that of your peers as well. Now the question is how do you effectively display this point-of-view that you've developed in school to potential employers? The answer is through branding! The AMA - American Marketing Association - defines a brand as "a name, term, symbol, design, or a combination of them intended to identify the goods and services of one seller and differentiate them from other sellers." When you're looking for work you are essentially trying to sell yourself and your services to a potential employer so it is important that when marketing yourself you make certain that everything you put out there is engaging, clear, cohesive, and is showcasing your uniqueness and your talent!

Let's break it down to the six pieces of marketing collateral that you'll need while on the hunt for internships and entry-level jobs and how you can use these tools to begin to develop your brand:

1. Cover Letter - The cover letter and resume should work hand-in-hand. I know a lot of people who use a standard blank Microsoft Word document for writing cover letters and I'll admit I use to do that too! One day something just clicked (I think it was the economy) and I decided to put as much effort in actually designing my cover letter than I did when I designed my resume and portfolio. Guess what? After graphically designing my cover letter to compliment my (well-designed) resume & portfolio I saw a huge spike in the number of call backs for interviews then when I was using the standard "blank" document.

2. Resume - I don't think it needs to be said that if you're a Designer then this document should be well designed. I'll just reiterate point number one and that is to make sure that it is in sync with the design of your cover letter. This can be done by doing simple things like using the same fonts, colors, and graphics. *Quick Tip: Set up your resume and cover letter document as one file using Adobe InDesign and export that file as one pdf document when you're ready to send it off. That way you limit the amount of attachments you send out to each employer and it shows that you're thinking about the two documents in tandem.

3. Work Sample - Most employers will ask you to send work samples along with your resume. So it's a good idea to already have this document set up, again the layout of your work sample should be coherent with the design of your resume and cover letter. *Quick Tip: Always send relevant work samples, you can show your diversity in your portfolio on the actual interview, but if you're applying for an internship or job with a firm specializing in traditional architecture don't send samples of your zany "not in this lifetime" student projects.

4. Print Portfolio - Now comes the fun part. As a student or young designer it's okay to have a diverse portfolio but as you grow and become more experienced employers are going to expect this document to be a little more focused. While the work in your portfolio may be diverse for now; be sure that the general outline of the book itself is keeping with the theme of the rest of your documents. Try going with the same color scheme or doing something cool (yet clear and professional) with your name in Illustrator and use that as a logo to put on all your documents.

5. Digital Portfolio - Do you have your own personal space on the web yet? If not you'd better get one! If you don't have the tools to develop your own personal website check out this article about other options for setting up an online portfolio. Again, if an employer views your work on the web and then receives a hard copy of your resume in the mail later through effective personal branding they should be able to make the connection from one document to the next and know that each submission is from the same individual.

6. Personal Business Cards - It is so important to have personal business cards on hand nowadays because you just never know who you will run into! Plus they are so inexpensive and accessible that there is no reason for any young professional to be walking around without one. You can create customized business cards on www.moo.com for as little as $22! Again consistency is key in the details of this small yet largely important document.

All the items listed above are essential when it comes to marketing and developing your personal brand. The key is just to be consistent all across the board when showcasing your uniqueness. How have you been marketing yourself?


By DOMINIQUE WILMORE
Published: May 17, 2010

Source: here

Wednesday 14 September 2011

New Semester!

It's the start of the new academic year, the 2011/2012 session!

Even though this campus is freaking huge, I still feel slightly overwhelmed with the students walking around the campus, plus the new students who came from CFSIIUM or direct intakes...

...Anyway, it's the first semester and for me it's going to be the final semester as the Bridging student and hopefully, when I'm done with this semester, I'll be entering the Kulliyyah i.e. the Faculty of Architecture and Environmental Design.

I arrived in the campus on last Sunday and on Monday, I went to the Bridging office at the CELPAD building at level 4 to register all my subjects for the current semester. As I obtained merely B- for my Pre-Calculus last semester, I'll be taking the subject again with different lecturer. Dr. Faiz had informed me that she's a good lecturer. Therefore, let's hope for the best and score this time!

For this semester, I'm taking Architecture and Environmental Design subjects for the very first time in my life. I got few reviews from some of my seniors of what they did back in CFSIIUM and since most of them are vague memories, I decided to take down some notes and tried to outline them roughly and checked these things on the Internet.

I've been spending at least two hours in the library for the past 3 days, trying to find some good books to read or just enjoying awesome pictures in those books. There are only few rows of book on the Architecture section compare to the whole side of the library that meant for Science and Medicine. I wonder if students ever visit the section...

Anyway, since Graphic Communication and Introduction to Built Environment haven't started yet, I'm going to enjoy the rest of the weekend reading Architecture: Form, Space and Order by Francis D.K. Ching and maybe, just maybe I'll go around the campus to find some new hotspot to hang out with my friends later.

There's a new cafe - BooKerZ Lounge, opened in the Azman Hashim Building. The Fatoosh salad is quite nice and also the western foods are worth to try. Also the amount of food are quite reasonable with the price.


Signing out!


P.S.: S, happy birthday!

Tuesday 13 September 2011

Top 10 Design Supplies for School

Another interesting article that I found... Here goes..

*****

In writing a must-have design supply list, I knew I’d have to put a few “duhs” in here, and I realize you’re not all first year design students. But I tried to throw in some brand recommendations and tidbits to help even the veteran design student get ready for another challenging, but hopefully, rewarding and productive year. I would absolutely welcome any comments or further recommendations of your own that you may have. We can all benefit from them, and I love to get different peoples opinions on their favorite tools. Here are mine:


#1 A Good X-acto Knife with Blades - A clean, crisp look in your presentation can make or break you, so luckily it can be attained with a good cutting tool to eliminate rough edges. Fewer mess-ups will also help you conserve foam core and illustration board which can get expensive. In our studio, the simple rubber gripped skinny knives are more popular as opposed to the retractable utility knives. In addition to X-acto, Olfa, also makes some nice cutting tools. Quick Tip- Get plenty of extra blades. They are very sharp, but it doesn’t take many uses to dull them, and for an important project you definitely want a fresh one!

#2 Adhesives - Professors everywhere are cringing at the sight of excessive glue bulging out at seams or sticky residue on models. The idea of glue is to be as invisible as possible, yet strong and able to withstand handling. This is why cyanoacrylate glues are so great. They go on clear, cure fast, and stay strong. Good ones are the Maxicure (stronger cure), Instacure (faster cure) or the Zap-a-Gap filler. It’s always good to get the catalyzing spray to set the glue instantly. Quick Tip- Be sure the surface you are applying to is clean and sanded to ensure a good bond.

#3 Spray Mount / Alternatives - This is technically an adhesive but it deserves a bullet point of its own because of widespread use among designers for mounting paper on a presentation board. When using spray mount, wash your hands often to avoid transferring sticky residue onto the presentation side of what you are mounting. If you find you are not spray mount inclined and have some trouble with it, you can always use a dry mount like Studio Tac, which is wax paper coated with an adhesive that can be transferred onto another surface. It’s also a lot better for the environment and your lungs.

#4 Felt Tip Pens - I used to think that sketching was totally about the artist, not the writing utensil, and to a certain extent it is but not if you are using a cheap hotel pen. Putting down a series of accurate yet confident lines that don’t look like you agonized over them is difficult. But if you have a good pen, you will get less frustrated, draw more, develop better technique, and so on. Micron pens are a nice choice and come in varying line widths, which you should experiment with for hierarchy in your drawings. They also won’t bleed when you go over them with marker.

#5 Markers - It’s worth it to shell out the money for a good range of gray markers, especially if you’re taking a class that requires lots of sketching. Professors and employers still put a lot of value in hand renderings, and some cool gray tones can bring a drawing closer to (or better than) reality. You can buy colors a little more sparingly, because the real work is done with the base grays. It’s not necessary to buy every gray shade from 1 to black, because a striking and impressive sketch always has good contrast, so putting down every single gradient won’t be effective anyway. AD and Prismacolor markers are the two main brands you’ll see in art stores. AD markers tend to not bleed the underlying sketch, so they work better as grays. Prismacolors, however, have dual tips and good control for overlaying colors, so you’ll really want to experiment with both.

#6 Primer, white or gray - Go ahead and buy some now because you will need it sooner or later. For ergonomic smooth finishes on models, primer is key. The endless cycle of priming and sanding can be maddening, yes. So don’t wait till the last minute to prime and paint, don’t get trigger-happy with the primer, and wait for it to dry completely before you sand again. Quick Tip- For sanding purposes, gray primer exposes the surface flaws more so that you can tell what you still need to sand.

#7 Sketching Paper - Goes hand-in-hand with the markers and pens. Again, you may have to experiment with this, because everyone works better with different media surfaces. An agreeable pad to start out with is the Bienfang Graphics 360 translucent rag sketching paper. Quick Tip- Put something under the page you’re working on because the marker bleeds through and will mark the next page.

#8 Camera - It’s all about documentation. Your professors and future employers are as much interested in your process as your final product. So take pictures throughout your entire project, chronicling each step of the design. Pictures are also great for balancing your presentation boards with before, during, and afters. Documenting will also actually help you to stick to an organized process since you know it will be on display.

#9 T-square - Back to the importance of being clean-cut. When it comes to drawing lines, cutting, and measuring, you don’t always want to eyeball it. A t-square will make sure your line is actually 90 degrees, and serves as a good straight edge that won’t slip when you cut against it. Also makes a good sword for studio jousting :) (Agree...)

#10 Lock - All of these goodies will only be useful if they stay in your possession. And while your studio mates hopefully would not maliciously steal your stuff, things can get crazy at the end of semester where everything is everywhere and people are grabbing the nearest glue or ruler they see. So, when you’re done for the day, put your supplies in some sort of container and lock it up! Label your stuff so when someone borrows number 1-9 of this list, they can return it.


By: Elizabeth McCARTER
Published: August 16, 2010

Source: here

Monday 12 September 2011

Surviving Architecture School

If you guys are like me, in the searching of something to begin the journey as an architecture student and trying to find something good to read both in hard copies and soft copies, I think this article might give you something useful. I came across this article yesterday so here I want to share with you guys...

***

Going through architecture school can be both a stressful and rewarding experience. Here are three things every architecture student should know before embarking on that very first project!

1. Understanding Time Management.

Many people going through architecture school may be lead to believe that pulling all-nighters on a daily basis is the price you pay for enrolling into such a rigorous program. This couldn't be further from the truth. It's actually good practice while in school to understand that when you practice architecture in the "real world" clients won't have exorbitant budgets for you to spend endless hours working on a single project. So, when you're given an assignment instead of immediately sketching ideas and coming up with concepts, get into Project Management mode!

First, know your deadline; plan on finishing your work before that date, this leaves time for contingencies. Second, to avoid becoming overwhelmed take time to fully understand what needs to be accomplished for that deadline. Lastly, write a simple 'to do' list to help organize your thoughts, then begin to prioritize, and estimate how much time you think it will take to complete each task. This is a sure-fire way not to show up burnt out in your pajamas come presentation day!

2. Start Conceptualizing!

Now comes the fun part. Designing! Once you have gotten an idea of deadlines and timelines, start sketching! Always be original - remember this is architecture school so no idea is too zany! If you're having trouble getting started the best thing to do is start pulling together precedents to help give you ideas and inspiration.

3. sell, Sell, SELL!

I've witnessed first hand how students can become so enthralled in their ideas, the architecture, and the design that they never set enough time away for presentation, marketing, and selling their idea to the jurors. This last piece of information is of the utmost importance because even if you have a strong solid concept and design if jurors can't see that in the presentation - it won't matter. Take graphic design courses and become extremely proficient in graphic programs such as Illustrator, Photoshop, and InDesign (Having knowledge of these programs also comes in handy when seeking design internships because for most firms knowing these programs is a necessity!). Make sure you set aside an appropriate amount of time to pull together your presentation. Think about it! Everything in your presentation from images, to fonts, to the color palette should support your concept. This will make your idea easier to sell if you don't have the gift of gab!


Source: here

Saturday 3 September 2011

BSc. Arch

... Or Bachelor of Science in Architecture in full. I'm still in Applied Arts and Design Department so I need to take care the procedures of changing into that Department as soon as possible. Therefore, here I want to give some introduction about the course.

(taken from IIUM website)

Academic Concept

It is a three years architectural degree of a five years programme after successful completion of IIUM's AED matriculation programme or the STPM / GCE 'A' Level or Equivalent. While the emphasis of the IIUM Architecture & Environmental Design (AED) matriculation programme is in preparing the students with SPM with Language skills (English and Arabic), it is also provides them with basic foundation on environmental design fields.BSc in Architectural Studies provide the technical and skill requirements of the overall architectural education leading to Part I and a basic entry requirement to Bachelor of Architecture Degree for Part II of the professional degree programme.


Career Opportunities

Job prospects for Bachelorof Science in Architectural Studied graduates includes:

  1. As a Government or Public Assistant Architect with the Public Works Department and Statutory Bodies
  2. Assist Architect to Professional Architect as an employee in a beg architectural organisation
  3. Project Manager - managing a development project on behalf of a client
  4. Specialist in the field of Computer Aided Design and Drafting (CADD)
  5. Research Officer (with universities, research institutions, NGO's or private firms)
  6. Graphic Illustrator
  7. Academician
  8. Architectural writer for journals
  9. Developer, Manufacturer, Entrepreneur, Contractor and others

Curriculum

University Required Courses

Bahasa Melayu Lanjutan 1 & 2 (Malaysian Students only)
Tilawah -Tajweed 1 & 2
English for Academic Purposes
Courses in Arabic Language
Courses in Islamic Studies
Quran, Sunnah and Built Environment


Bachelor of Science in Architectural Studies Required Courses

Habitat Design 1 & 2
Architectural Design 1,2,3,4 & 5
History of Architecture 1,2 & 3
Theory of Architecture
Building Construction and Material 1,2 & 3
Architectural Graphics
Building Services 1 & 2
Structure 1 & 2
Environmental Science & Systems 1 & 2
Computer Aided Design - 2D
Computer Aided Design - 3D
Land Surveying
Introduction to Landscape Architecture
Cultural and Human Behaviour in the Built Environment
Heritage Studies
Introduction to Urban and Regional Planning
Building Contract and Contract Administration
Integrated / Multi-Disciplinary Project 1
Working Drawing & Specification
Entry Requirements

Admission Requirements

3 Principals passes in the STPM, obtained in one sitting, OR
3 principals passes in the GCE 'A' Level, obtained in one sitting, OR
Any other certificate recognized by the Senate of IIUM as equivalent to the above subject or interview and portfolio review by the department
 

Language Requirements

English is the primary medium of instruction. All applicants should submit a score of 550 in the TOEFL (Test Of English as a Foreigh Language) or 6.0 points in the IELTS (International English Language Testing Services) or EPT (English Placement Test). The laster is administrated by IIUM. Candidates who do not meet the above requirements may take up language proficiency courses within the university to achieve the required standard. Arabic is employed as a secondary medium of instruction.


That's all from the University website.


As I met up with few friends and talk to them of changing to Archi, all things that I heard are the tortures. Hmm. That's a good a start. I guess.